Stucco Redashing: What You Need to Know
So, your stucco's looking a bit rough, huh? Maybe it's got a few small cracks, the color's faded, or it just doesn't pop like it used to. If it's not actually falling apart but still needs a fresh face, you might be thinking about redashing. It's a pretty common way to spruce up your home's outside without tearing everything off and starting from scratch. But before you grab that trowel, let's talk about what redashing really is and what goes into it.
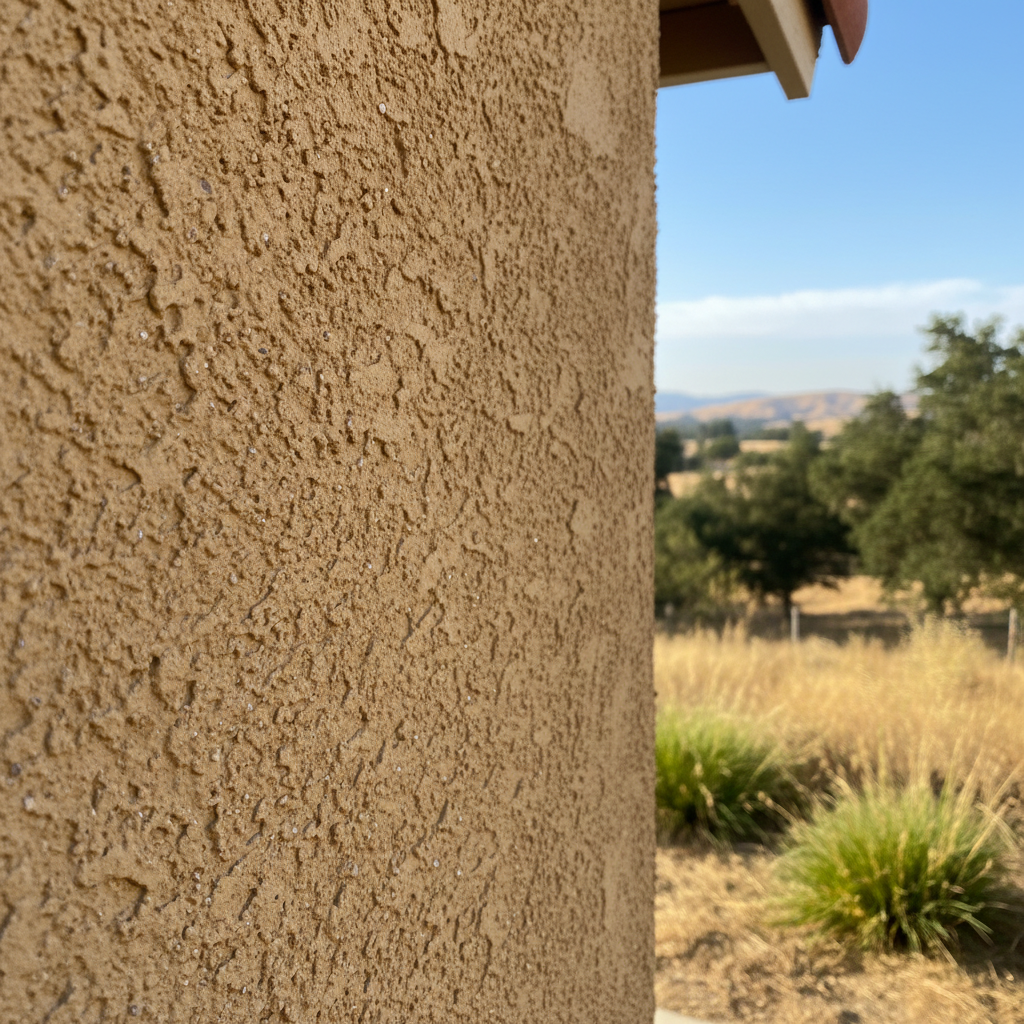
Redashing isn't just slapping on another coat of paint. Nope. It means putting a new, thin layer of stucco finish right over your existing, solid stucco. This can smooth out minor surface flaws, give you a completely new color, or even change the texture. It's a fantastic choice for homes in places like Tracy, especially with our hot summers and those windy days that can really beat up an exterior over time. But here's the kicker: it's not always a do-it-yourself project, and sometimes, it's not even the right fix.
Before You Even Think About Redashing
Alright, first things first. Is your old stucco actually in good enough shape for a redash? This is probably the most important question you'll ask. You simply can't cover up big problems and hope they disappear. They'll just come back, usually worse than before.
- Check for Major Damage: Look for large cracks (anything wider than a credit card), bulging spots, soft areas, or places where the stucco is clearly peeling off the wall. If you spot any of this, you're looking at repairs, not just a redash. Trying to redash over structural issues is like putting a band-aid on a broken leg, wouldn't you agree?
- Water Intrusion: This is a huge deal. If water's getting behind your stucco, a redash won't fix it. You'll need to find the leak, repair it, and then fix the damaged stucco underneath. Often, this means taking out sections of stucco, which is definitely a job for the pros.
- Surface Prep is Key: The stucco that's already there needs to be clean, dry, and totally free of loose bits, dirt, or mildew. You'll probably need to power wash it, let it dry completely, and then scrape off anything flaky. This is where a lot of DIYers mess up – skimp on the prep, and the new layer won't stick right.
- Paint or Sealant? Has your stucco been painted or sealed with something that doesn't breathe? If so, redashing might not work. The new stucco needs to bond directly to the old stucco, not to a slick layer of paint. You might have to remove the paint first, which is a huge undertaking, or look at other options.
Honestly, if you're not sure about your stucco's condition, just call a professional. We've seen too many Tracy homeowners try to DIY a redash, only to discover bigger problems, and then they end up paying more in the long run to fix their first attempt.
The Redashing Process: What You Can & Can't Do
Let's say your stucco is in good shape, and you've decided redashing is the way to go. What's involved?
The DIY Side (Small Projects Only!)
If you're only tackling a small, non-critical area, like a garden wall or a tiny shed, you *might* be able to do it yourself. Here's generally what you'd do:
- Clean Thoroughly: Power wash, scrub, and let it dry completely.
- Patch Minor Cracks: Use a good quality stucco patch for those hairline cracks. Make sure it's fully cured.
- Apply a Bonding Agent: This step is crucial. You'll need to roll or spray on a quality acrylic bonding agent to make sure the new finish coat really sticks to the old. Seriously, don't skip this!
- Mix Your Finish Coat: You can buy pre-mixed stucco finish coats or mix your own from bags. Follow the instructions carefully for consistency. This is where a lot of skill comes in – getting the water-to-mix ratio just right is super important for how it works and how it looks in the end.
- Apply the Finish: Using a hawk and trowel, put on a thin, even layer of the finish coat. This is where the artistry happens. You need to work fast and consistently to get an even texture.
- Texture It: Right after applying, use a float or sponge to create the texture you want.
It sounds easy, but getting a consistent, professional-looking finish with a trowel and float takes loads of practice. Every little wobble and inconsistency will show. For a small patch, sure. For your whole house? I wouldn't recommend it unless you've got some serious plastering experience.
When to Call Skyline Stucco Tracy (Most of the Time!)
For anything more than a tiny patch, you really want a professional. Here's why:
- Expert Assessment: We can tell you if redashing is even the right solution or if you've got hidden issues that need fixing first. We've seen how the clay soils around Tracy can cause foundation shifts, leading to stucco cracks that need more than just a redash.
- Proper Preparation: We've got the right tools and know-how for thorough cleaning, crack repair, and putting on the correct bonding agents.
- Consistent Finish: This is the big one. Getting a uniform texture and color across an entire wall, let alone a whole house, is incredibly tough for an amateur. We use specialized equipment and techniques to ensure a smooth, even application. You definitely don't want your house looking like two different people worked on it on two different days.
- Material Knowledge: We know which materials work best for our local climate and conditions, making sure everything lasts a long time.
- Efficiency: We can get the job done much faster and with way less mess than a DIYer.
A professional redash will look better, last longer, and ultimately save you headaches and potentially more money down the road if you try to fix a botched DIY job.
After the Redash: Keeping It Looking Good
So, you've got your beautiful new stucco finish. Now what? Maintenance is pretty simple, actually:
- Curing: For the first few days, the stucco needs to cure properly. Keep it damp, especially with our dry Tracy heat. This might mean gently misting it with water a few times a day for a couple of days.
- Keep it Clean: Every now and then, wash your stucco with a garden hose and a soft brush. For tougher spots, a mild detergent and water can work. Just avoid high-pressure washing; that can really damage the surface.
- Watch for Cracks: Even with a new finish, tiny hairline cracks can pop up over time because of normal expansion and contraction. Deal with these quickly using a good quality elastomeric caulk made for stucco.
- Landscaping: Keep plants and shrubs trimmed back from the stucco. They can hold moisture against the wall and cause damage or staining.
Redashing can truly transform your home's curb appeal. Just make sure you're going into it with your eyes wide open about what's involved and when it's time to call in the experts. Your home is a big investment, and its exterior protects everything inside. Don't cut corners on that, okay?